Instructions for posting images to MWR using Photobucket
This is a quick pictorial guide giving an overview of how to host images online using the currently free photobucket service.
When you login, you should navigate to the 'my album' area, which is where all your images will be stored.

Step 2 - Click the 'Browse' button.
Navigate to the directory/folder where the images you wish to upload are stored.

Step 3 - Click the 'Open' button to upload the images
The screen will change and a screen showing the progress of the upload will appear

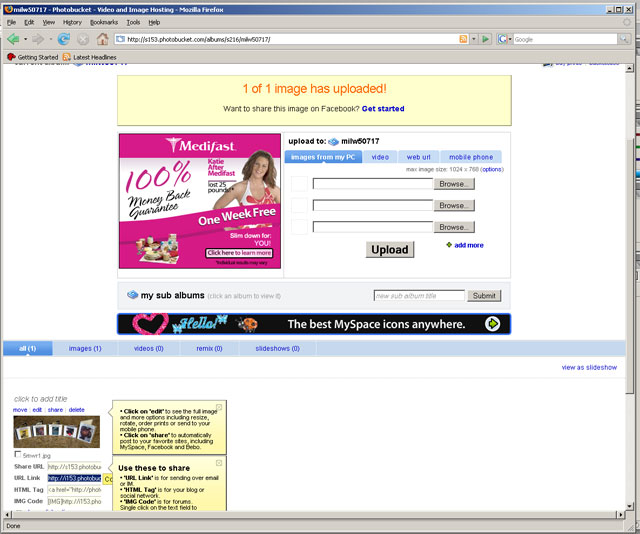
Step 4 - Once uploaded copy the URL of the image
Once the upload is complete the screen changes to indicate the number of images uploaded.
At the bootom of the screen are small thumbnails of the images you have uploaded to photobucket.
You need to copy the contents of the 'URL link' field. Within photobucket left-clicking your mouse will copy the
contents of the field and a yellow pop-up appears with the text 'Copied'. This yellow pop-up can just be seen
in the below image.
Step 5 - Test the URL of the image
Paste the copied text into your browser window and hit enter. You should see the fullsize image appear.

Step 6 - Post a message to MWR that links to the image
Here I will illustrate two ways of posting images.
First - use the  icon
icon

This pop-ups a window into which you past the URL of your image, overwriting the 'http://' text that it defaults to.
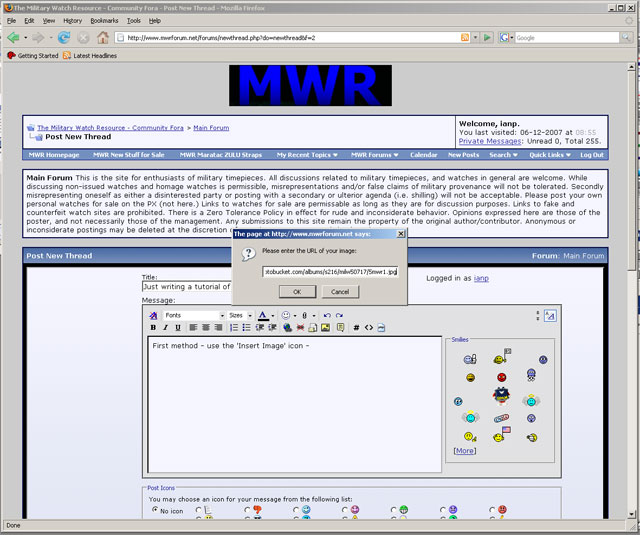
Click OK and you should now see your image in the edit box.

Second - use the BB image tags - [IMG] and [/IMG]
Here you simply wrap the url of your between two, easy to remember BB tags - [IMG]http://i153.photobucket.com/albums/s216/milw50717/5mwr1.jpg[/IMG].

When using these tags, the image does not appear unil you hit the 'Preview Post' button'

Step 6 - Post the message to Mwr
Hit the relevant button to post or submit your message or reply.